Note
Access to this page requires authorization. You can try signing in or changing directories.
Access to this page requires authorization. You can try changing directories.
In this quickstart, you use the Azure portal to create a Service Bus topic and then create subscriptions to that topic.
What are Service Bus topics and subscriptions?
Service Bus topics and subscriptions support a publish/subscribe communication model. With this pattern, components of a distributed application don't communicate directly with each other. Instead, they exchange messages through a topic, which acts as an intermediary.

Service Bus queues deliver each message to a single consumer. In contrast, topics and subscriptions provide one-to-many communication using a publish/subscribe pattern. You can register multiple subscriptions to a single topic. When a message is sent to the topic, each subscription receives its own copy to process independently.
A subscription works like a virtual queue that receives copies of messages sent to the topic. You can also define filter rules on a subscription to control which messages it receives.
Service Bus topics and subscriptions enable you to scale to process a large number of messages across many users and applications.
Create a namespace in the Azure portal
To start using Service Bus messaging entities in Azure, create a namespace with a name that's unique across Azure. A namespace provides a scoping container for Service Bus resources, such as queues and topics, in your application.
To create a namespace:
Sign in to the Azure portal.
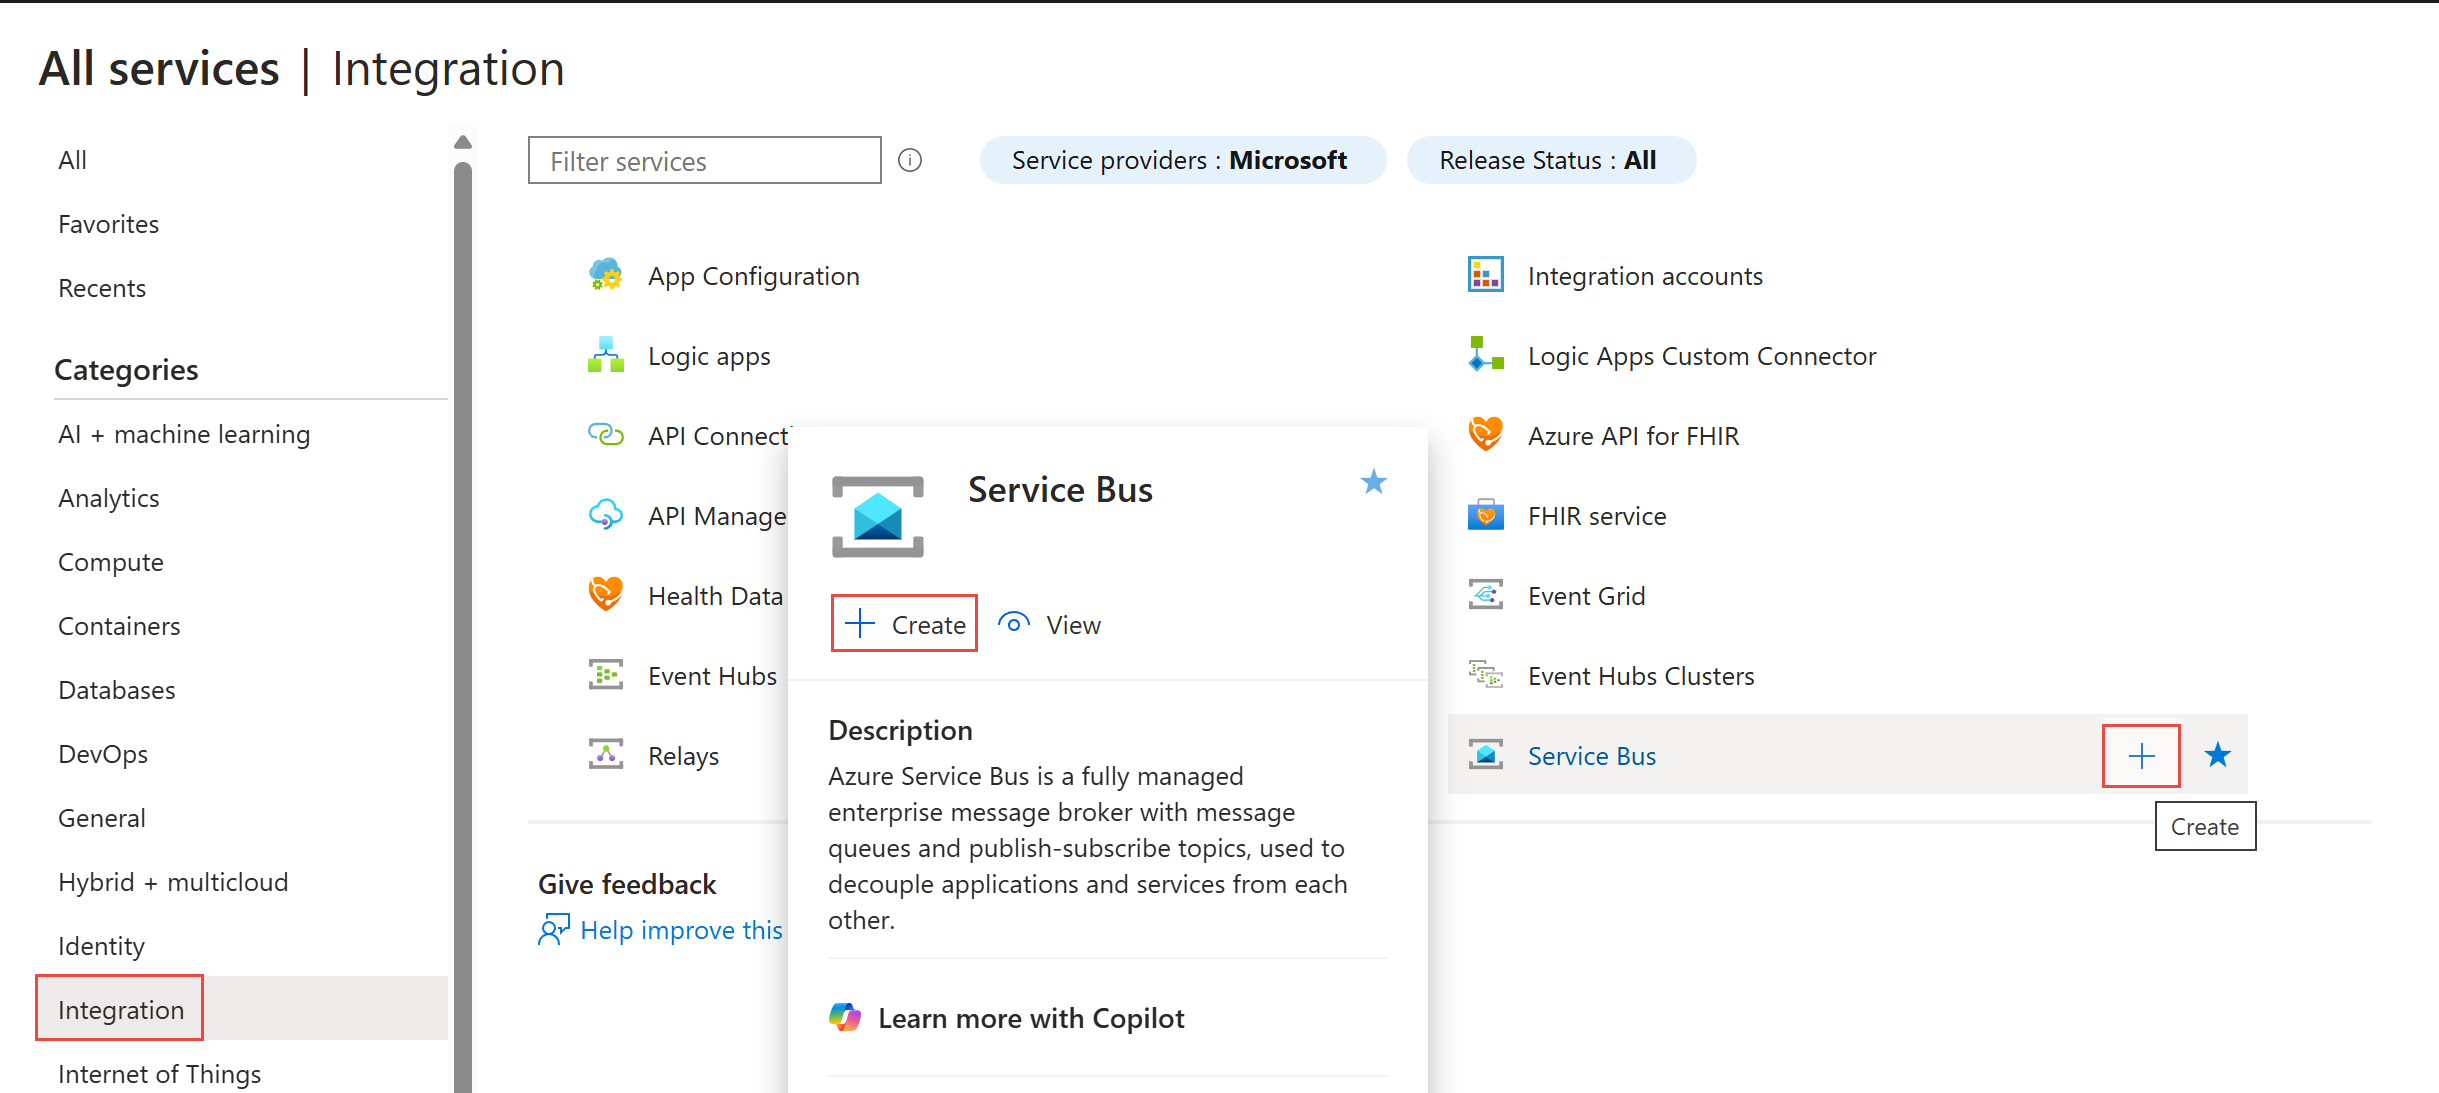
Select the flyout menu from the top left and go to the All services page.
On the left navigation bar, select Integration.
Scroll down to Messaging services, hover your mouse over Service Bus, and then select Create.
In the Basics tab of the Create namespace page, follow these steps:
For Subscription, choose an Azure subscription in which to create the namespace.
For Resource group, choose an existing resource group, or create a new one.
Enter a Namespace name that meets the following naming conventions:
- The name must be unique across Azure. The system immediately checks to see if the name is available.
- The name length is at least 6 and at most 50 characters.
- The name can contain only letters, numbers, and hyphens
-. - The name must start with a letter and end with a letter or number.
- The name doesn't end with
-sbor-mgmt.
For Location, choose the region to host your namespace.
For Pricing tier, select the pricing tier (Basic, Standard, or Premium) for the namespace. For this quickstart, select Standard.
If you select the Premium tier, you can enable geo-replication for the namespace. The geo-replication feature ensures that the metadata and data of a namespace are continuously replicated from a primary region to one or more secondary regions.
Important
If you want to use topics and subscriptions, choose either Standard or Premium. The Basic pricing tier doesn't support topics and subscriptions.
If you selected the Premium pricing tier, specify the number of messaging units. The premium tier provides resource isolation at the CPU and memory level so that each workload runs in isolation. This resource container is called as a messaging unit. A premium namespace has at least one messaging unit. You can select 1, 2, 4, 8, or 16 messaging units for each Service Bus Premium namespace. For more information, see Service Bus premium messaging tier.
Select Review + create at the bottom of the page.

On the Review + create page, review the settings, and select Create.
After the deployment of the resource is successful, select Go to resource on the deployment page.
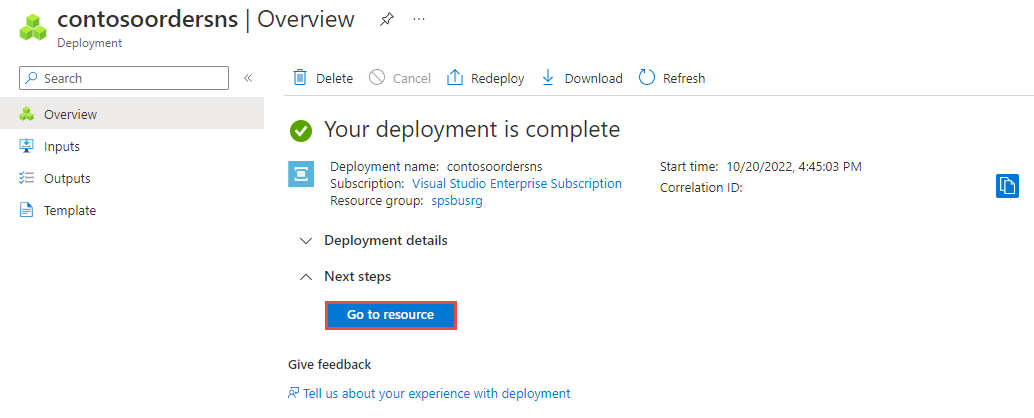
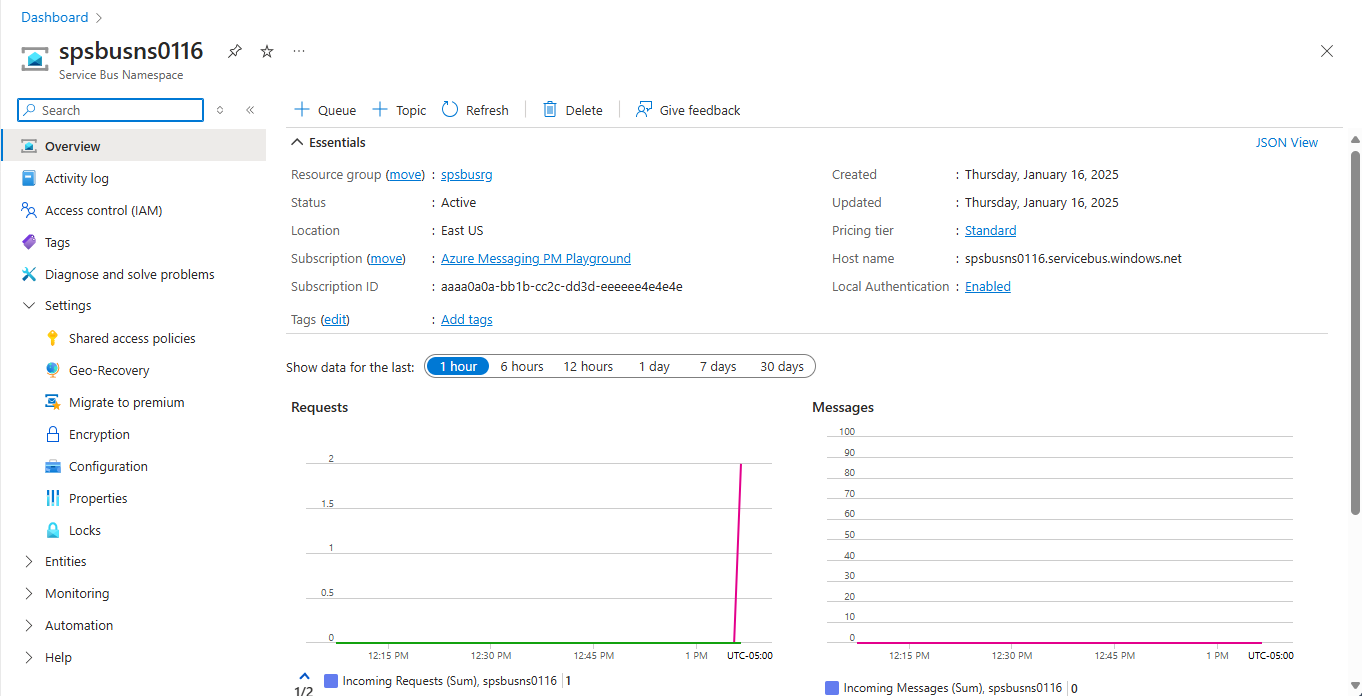
You see the home page for your service bus namespace.


Create a topic by using the Azure portal
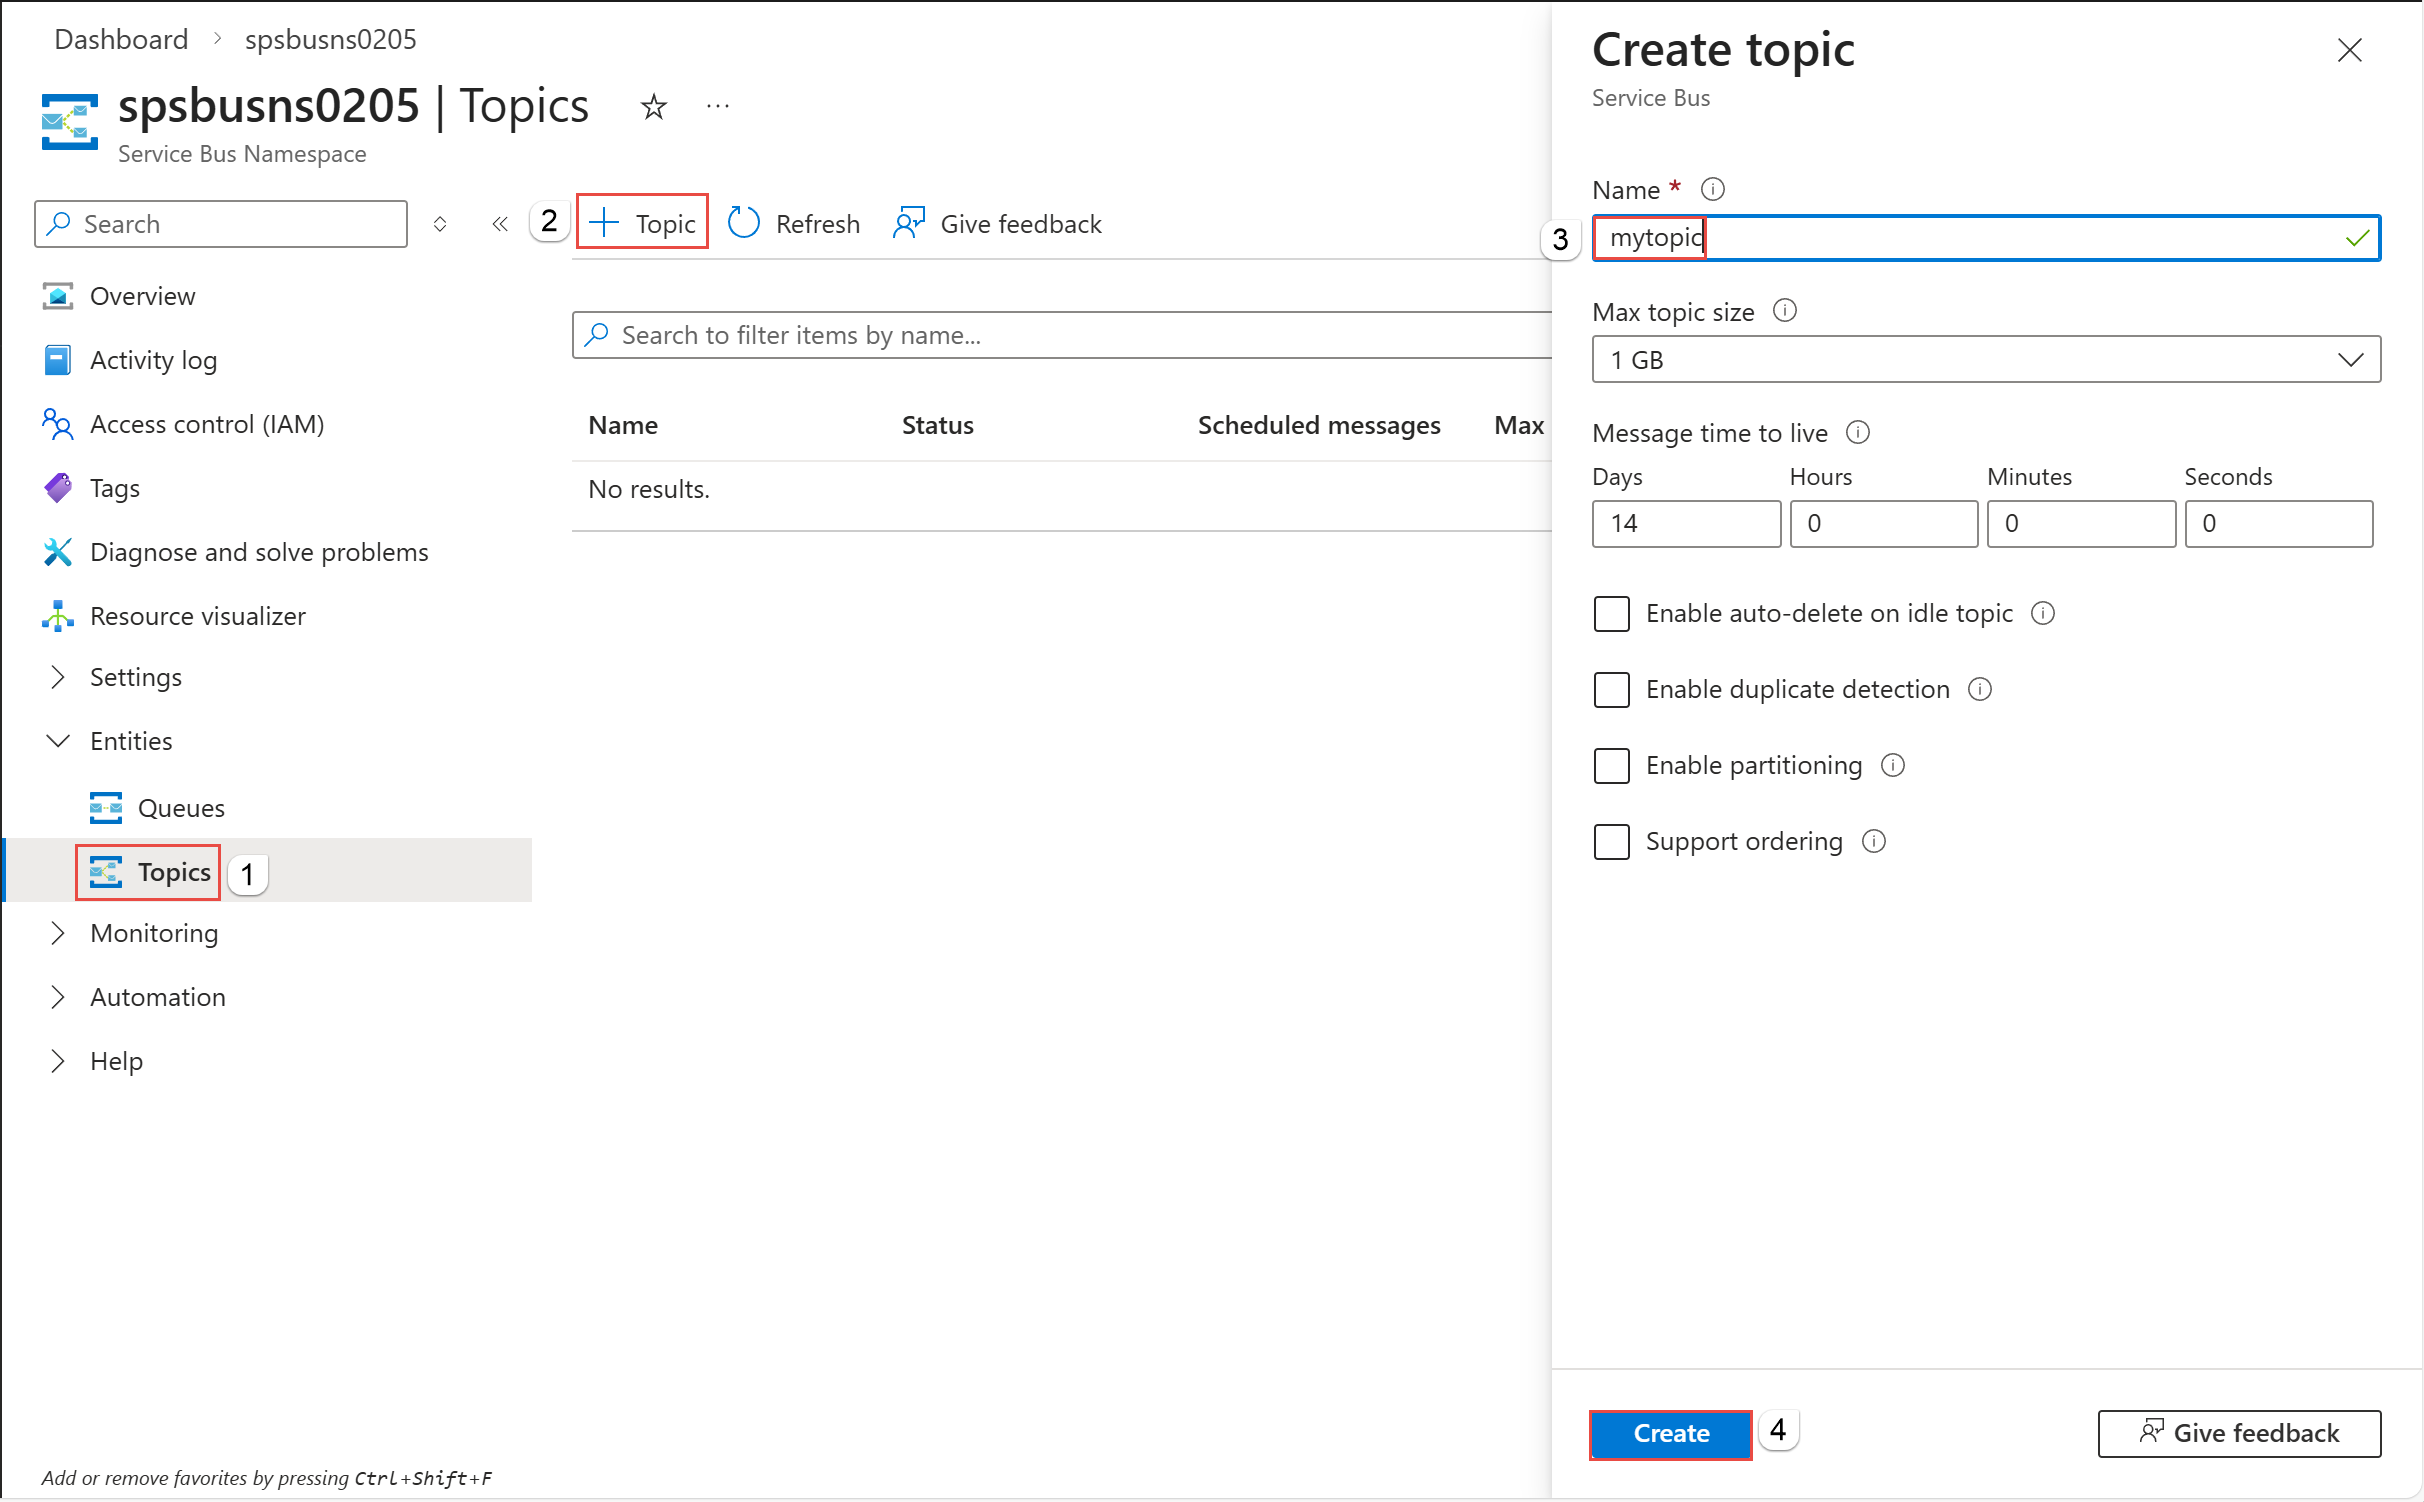
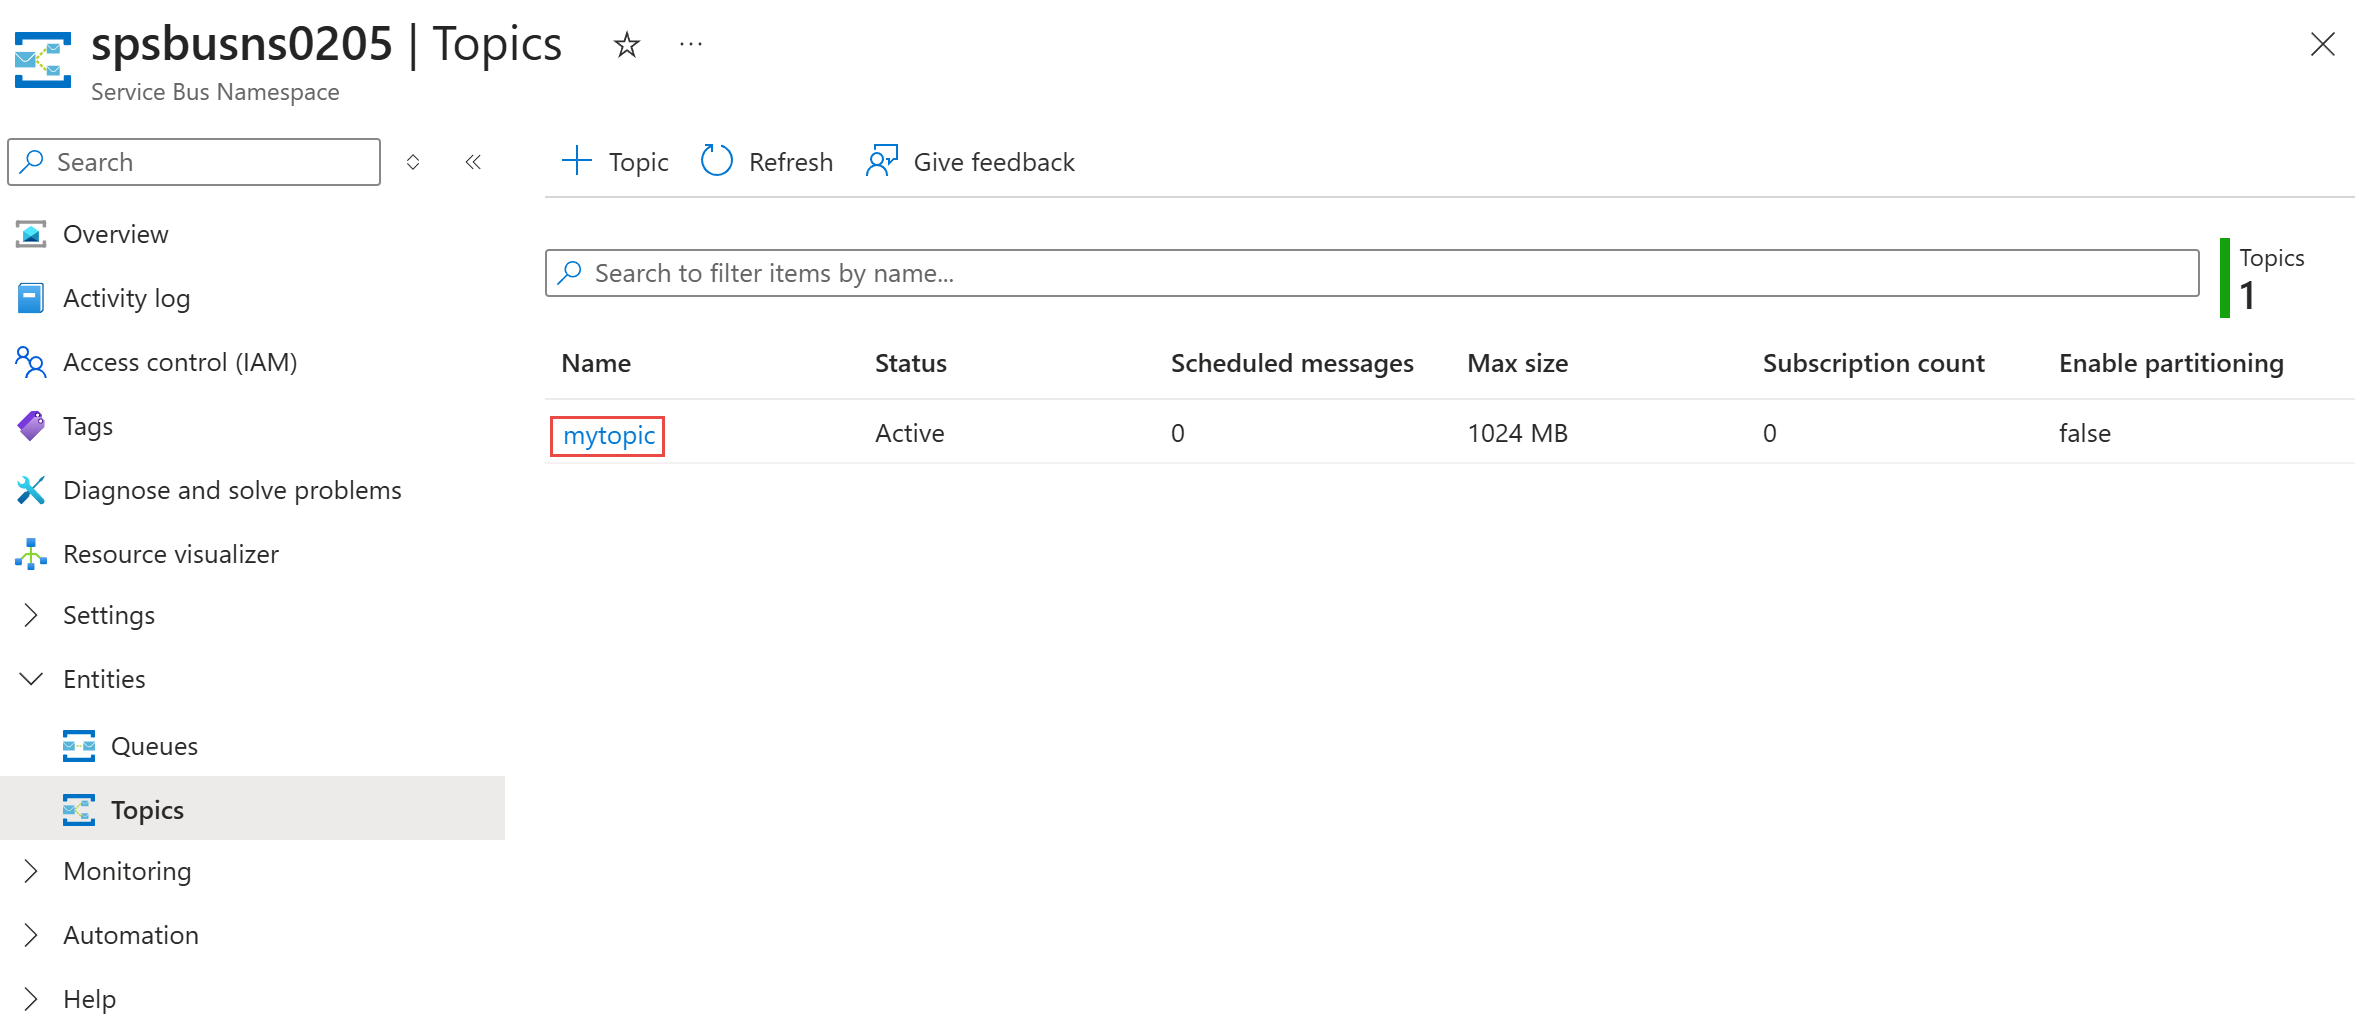
On the Service Bus Namespace page, expand Entities on the navigational menu to the left, and select Topics.
Select + Topic.
Enter a name for the topic. Leave the other options with their default values.
Select Create.

Create subscriptions to the topic
Select the topic that you created in the previous section.
On the Service Bus Topic page, select + Subscription.

On the Create subscription page, follow these steps:
Enter S1 as the name of the subscription.
Select Create to create the subscription.

Repeat the previous step twice to create subscriptions named S2 and S3.


Next steps
In this article, you created a Service Bus namespace, a topic in the namespace, and three subscriptions to the topic. To learn how to publish messages to the topic and subscribe for messages from a subscription, see one of the following quickstarts in the Publish and subscribe for messages section.